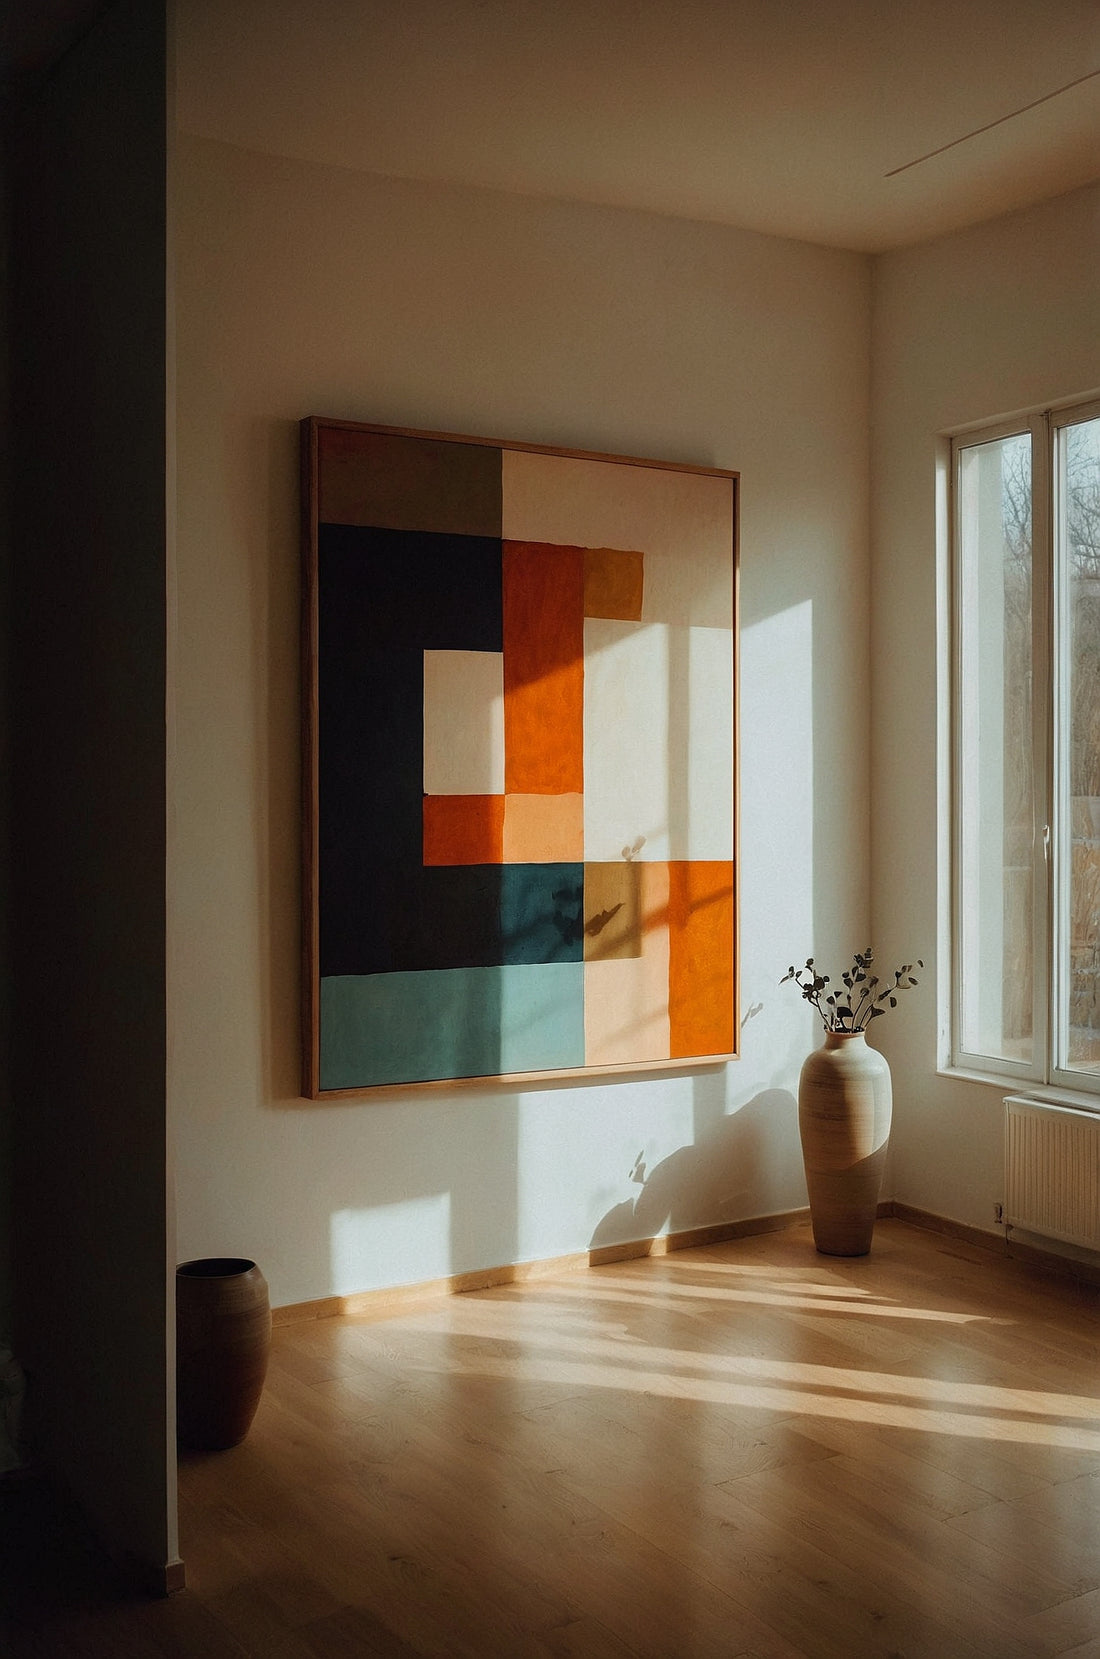
Hanging a painting is more than just placing a piece of artwork on your wall—it's about creating the right atmosphere, balancing the space, and highlighting the painting's beauty. Whether you’re an art enthusiast looking to showcase your collection or a first-time buyer preparing to display your new piece, the process of hanging a painting can seem daunting. With the right approach, however, you can ensure your artwork is presented beautifully and securely. Here's a step-by-step guide on how to hang a painting on a wall:
1. Choose the Right Spot
Before you grab a hammer and nails, it’s essential to decide where you want to place your painting. Consider the following factors when choosing the right spot:
- Room Layout: Think about the room’s layout and how the painting will interact with the furniture. Hang the painting in a place where it will be viewed from various angles, but avoid placing it in areas where it may get obscured.
- Eye Level: Ideally, artwork should be hung at eye level, which is typically 57–60 inches from the floor. This ensures that the painting is at a comfortable height for viewing.
- Wall Space: Make sure the wall has enough space to accommodate the painting. If your wall is too large, the painting might look lost, while a small wall can make a larger piece feel cramped.
- Room Style: Ensure the painting fits with the overall style of the room. The frame and artwork should complement the surrounding décor, whether modern, traditional, or eclectic.
2. Measure and Mark
Once you've selected the spot, it’s time to get precise with measurements to ensure your painting hangs evenly. Use a tape measure to do the following:
- Determine the Center: Measure the width of the wall and mark the center. This will be the focal point around which you’ll hang your painting.
- Mark the Hanging Height: Measure the height at which you want the painting to hang (typically 57–60 inches from the floor to the center of the artwork) and mark that spot on the wall.
If the painting has two hanging hooks (or D-rings) on the back, measure the distance between them and calculate the midpoint to ensure the artwork is hung level.
3. Choose the Right Hanging Hardware
The type of hardware you need to hang your painting depends on the weight of the artwork and the type of wall you’re working with. Common options include:
- Nails or Picture Hooks: For lightweight paintings, simple nails or picture hooks can suffice. Picture hooks can be placed into the wall more easily, and they can bear more weight than nails alone.
- Screws and Wall Anchors: For heavier paintings, you’ll need screws or wall anchors to provide more support. This will prevent the painting from falling or becoming unstable.
- French Cleats: For larger or heavier pieces, consider using a French cleat system, which is a type of bracket that provides extra support and helps keep the artwork level.
- D-Rings or Hanging Wire: Most professional paintings are equipped with D-rings or a hanging wire on the back. If your painting has a wire, you can use a picture hook or nail, but for D-rings, you will need two hooks placed at a distance that matches the rings.
4. Install the Hanging Hardware
Once you’ve chosen your hanging hardware, it’s time to install it on the wall:
- Use a Level: Make sure your hardware is aligned perfectly. A level ensures your artwork will hang straight and not crooked.
- Install Hooks or Nails: For nails or picture hooks, gently hammer them into the wall at the points where you marked earlier. If you're using screws or anchors, drill holes first and then insert the anchors before screwing in the hooks or screws.
- Double-Check the Placement: Before you hang the painting, step back and visually check that the hardware is positioned exactly where you want it to be.
5. Hang the Painting
With the hardware in place, it’s time to hang the painting:
- Place the D-Rings or Wire on the Hooks: If your painting has D-rings, carefully hang them on the installed hooks. If there is a wire, gently place the wire over the hook, adjusting it to ensure the artwork is centered and secure.
- Adjust for Centering: Once the painting is on the wall, make final adjustments to ensure it’s centered. Use a level once more to check that the painting is straight.
6. Final Touches
Now that your painting is hung, take a step back and evaluate the overall look:
- Lighting: Proper lighting can make a huge difference in how the artwork is displayed. Ensure that your painting is well-lit, either through natural light or with the help of directed spotlights or picture lights.
- Spacing: If you’re hanging multiple paintings, keep a consistent space between them. A common rule is to leave around 2–4 inches between pieces for a cohesive look.
7. Caring for Your Painting
Once your artwork is hung, make sure to care for it to ensure its longevity. Avoid placing the painting in direct sunlight or near heat sources, as this can cause fading or warping over time. Dust the painting regularly with a soft cloth and, if necessary, clean the frame carefully to maintain its beauty.
Conclusion
Hanging a painting can transform any room and add a personal touch to your space. By following these simple steps—choosing the right spot, measuring accurately, using appropriate hardware, and ensuring the artwork is well-lit—you can showcase your art beautifully. Whether you’re displaying a family heirloom, a contemporary masterpiece, or a beloved print, the right hanging technique will ensure your painting is an eye-catching focal point in your home for years to come.

